
Introduction
A multimeter is an essential tool for measuring voltage, current, and resistance in electrical circuits. Whether you’re an electrician, an engineer, or a DIY enthusiast, knowing how to read a multimeter can help you diagnose electrical problems, test components, and ensure safety in your projects.
In this guide, we’ll break down how to read a multimeter step by step, covering its functions, symbols, and usage for different electrical measurements.
Table of Contents
1. Understanding the Parts of a Multimeter
Before using a multimeter, it’s important to familiarize yourself with its key components:
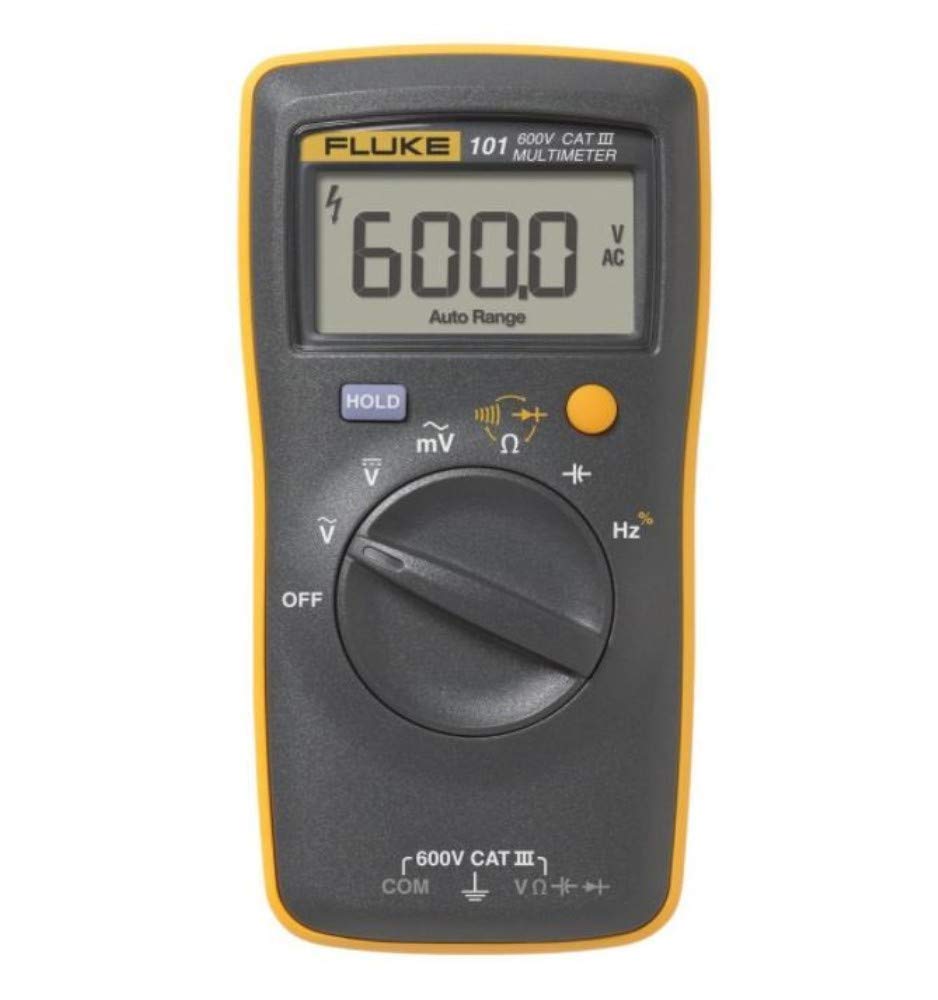
A. Display Screen
• Shows the measured values, typically in digits.
• Some digital multimeters (DMMs) have backlit LCD screens for better visibility.
B. Dial (Rotary Selector Switch)
• Used to select the measurement mode (voltage, current, resistance, etc.).
• Some multimeters have auto-ranging, meaning they automatically adjust to the correct measurement range.
C. Ports (Input Jacks)
Most multimeters have three or four input ports:
 COM (Common) – Always used for the black probe (ground/negative connection).
V/Ω (Voltage/Resistance) – Used for measuring voltage and resistance.
mA (Milliampere) – Used for low-current measurements.
10A (Amps) – Used for high-current measurements (some models may vary).
D. Probes
Multimeters come with two test leads (probes):
Red Probe: Connects to the V/Ω or current ports based on the measurement.
Black Probe: Always goes into the COM (common) port.
2. How to Read Voltage with a Multimeter
A. Steps to Measure DC Voltage (Batteries, Circuits, etc.)
1. Turn the dial to DC voltage (V with a straight line and dots underneath).
2. Insert the probes:
• Black probe → COM port
• Red probe → V/Ω port
3. Connect the probes to the circuit or battery terminals:
• Red to positive (+)
• Black to negative (-)
4. Read the display to get the voltage measurement.
 Example: If testing a 9V battery, the display should show around 9V (or slightly lower if the battery is weak).
B. Steps to Measure AC Voltage (Wall Outlets, Appliances)
1. Set the dial to AC voltage (V with a wavy line).
2. Connect the probes to the outlet or appliance terminals.
3. The display will show the measured AC voltage.
 Safety Tip: When measuring AC voltage, be cautious and ensure the probes do not touch each other.
3. How to Read Current with a Multimeter
A. Measuring Low Current (mA or μA)
1. Turn the dial to the mA or μA setting.
2. Insert the probes:
• Black probe → COM port
• Red probe → mA port
3. Break the circuit and connect the probes in series (not parallel).
4. Turn on the circuit and read the current measurement.
Example: Measuring the current draw of an LED light in a circuit.
B. Measuring High Current (Up to 10A)
1. Set the dial to the 10A setting (if applicable).
2. Move the red probe to the 10A port.
3. Connect the probes in series with the circuit.
4. Read the display for current measurement.
Warning: Never measure household AC current (high power circuits) with a standard multimeter unless it is rated for such measurements.
4. How to Read Resistance with a Multimeter
A. Steps to Measure Resistance (Ω – Ohms)
1. Turn the dial to the resistance (Ω) setting.
2. Insert the probes:
• Black probe → COM port
• Red probe → V/Ω port
3. Connect the probes to both ends of the resistor or circuit component.
4. Read the resistance value on the display.
Example: A 100Ω resistor should show a reading close to 100Ω.
Tip: Power off the circuit before measuring resistance to avoid incorrect readings.
5. How to Test Continuity with a Multimeter
A. Steps to Check Circuit Continuity
1. Set the dial to the continuity mode ( soundwave symbol).
2. Insert the probes in the COM and V/Ω ports.
3. Touch the probes to both ends of a wire or circuit connection.
4. If the circuit is complete, the multimeter beeps.
Example: Use this function to check if a wire is broken.
6. Understanding Multimeter Display Readings
When using a digital multimeter, you may see different types of readings:
Auto-Ranging Mode: The multimeter automatically selects the best range for accuracy.
“OL” or “1” Display: Indicates an open circuit or overload (e.g., infinite resistance).
Negative Voltage (-V): Shows that the probes are reversed in a DC circuit.
7. Common Multimeter Mistakes to Avoid
 Setting the wrong range – If the multimeter does not auto-range, set the dial to an appropriate range.
Connecting probes incorrectly – Plugging into the wrong ports can lead to incorrect readings or damage.
Measuring resistance in a live circuit – Always turn off power before checking resistance.
Using a multimeter beyond its limits – Avoid measuring high current unless your multimeter is rated for it.
8. Choosing the Right Multimeter for Your Needs
If you’re looking for a reliable multimeter, here are some recommended models:
Fluke 117 – Best for professionals (high accuracy).
Klein Tools MM400 – Great for home electricians.
AstroAI Digital Multimeter – Affordable option for beginners.
Before buying, consider features like auto-ranging, backlit display, and safety ratings.
Conclusion
Reading a multimeter is an essential skill for troubleshooting electrical circuits, testing batteries, and ensuring safety in DIY projects. By understanding the different measurement modes and correct usage, you can confidently diagnose electrical issues and work efficiently.
Would you like a guide on how to use a multimeter for specific projects? Let us know in the comments!